
Reviewed · PHOTOGRAPHY SESSIONS
Tokyo Photography Masterclass – Private Photography Lesson
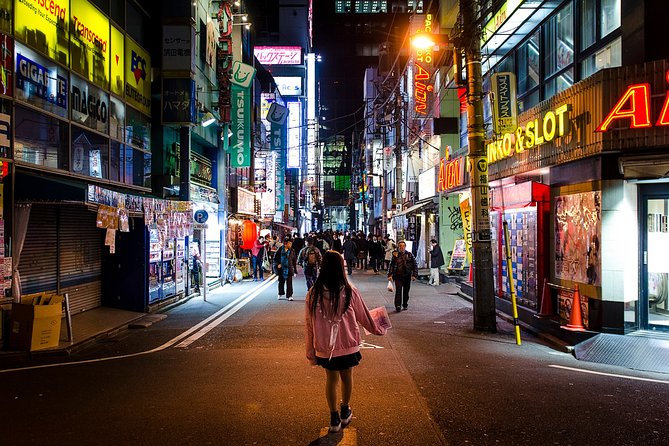
Tokyo gives you very little time to think before the picture changes. At Hachiko Crossing, people stream in every direction, lights flicker, and a good frame may last only a second. This private lesson turns that chaos into a classroom, then carries the same practical skills into Shibuya, Harajuku, Shinjuku, or Asakusa.
I like the one-on-one format, because your guide can spend time on the subjects you actually want to photograph. I also like that the lesson covers both creative choices and camera controls, from lines and repetition to aperture, shutter speed, ISO, and focus. The main drawback is the $190 price, which is high for three hours unless you will use the skills for the rest of your trip.
Key points at a glance
- Hachiko Statue is the starting point: Begin at 2 Chome-1 Dogenzaka in Shibuya, close to Tokyo public transportation.
- The route can match your interests: Focus on Hachiko Crossing, Shibuya back streets, Harajuku street style, Shinjuku at night, or Senso-ji in Asakusa.
- The lesson fits all skill levels: Beginners can learn camera basics, while semi-professionals can work on composition and photographic judgment.
- You practice, not just listen: The guide helps you sharpen your eye for lines, texture, angles, repetition, lighting, and subject placement.
- Night photography gets serious attention: Shinjuku offers neon and car trails, while Asakusa offers Senso-ji and quieter paths after dark.
- Bring your own camera: A camera is not included, though a tripod is available to rent.
Hachiko Crossing turns Tokyo into your first lesson
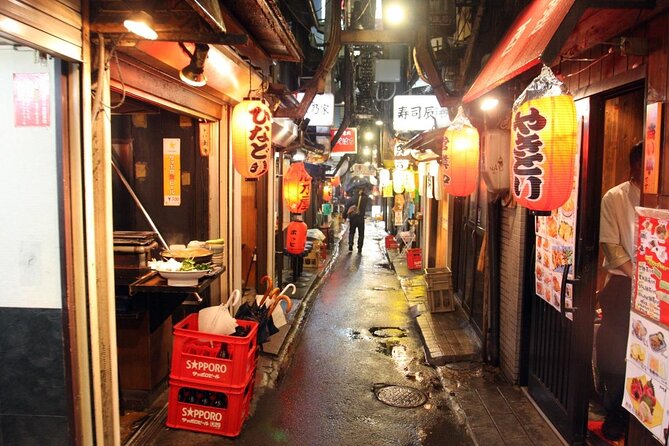
The tour starts at the Hachiko Statue, one of Shibuya’s easiest meeting points. This is a useful choice for a photography class because the area gives you an immediate exercise: watch how people move, find order in the crowd, and decide what belongs inside the frame.
You are not simply taken to a famous spot to snap a quick picture. The lesson asks you to consider composition. Can you use the crossing lines to lead the eye? Can repetition in umbrellas, signs, or moving figures create a pattern? Does a wider frame tell the story better than a tight portrait?
That approach is valuable in Tokyo, where the most interesting photograph is often not the obvious landmark. A guide can help you pause before pressing the shutter, which is a harder skill than it sounds in a city that keeps changing around you.
The tour ends back at the meeting point. Since this is a private activity, your group is the only group taking part. That gives you room to ask basic questions without feeling you are slowing down a larger class.
More Tokyo photo shoots:
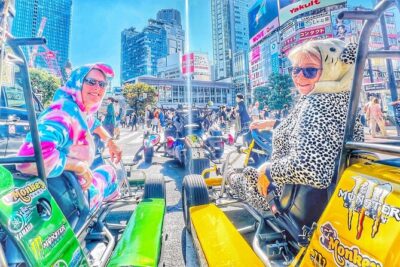
- Best Go Kart Experience in Shibuya Crossing with Iconic Photos
★ 5.0 · 348 reviews - Tokyo Go-Karting Experience: Shibuya Crossing with Photos
★ 4.8 · 190 reviews - Tokyo Cyberpunk Street Photo Tour
★ 5.0 · 165 reviews
Shibuya back streets and the art of seeing
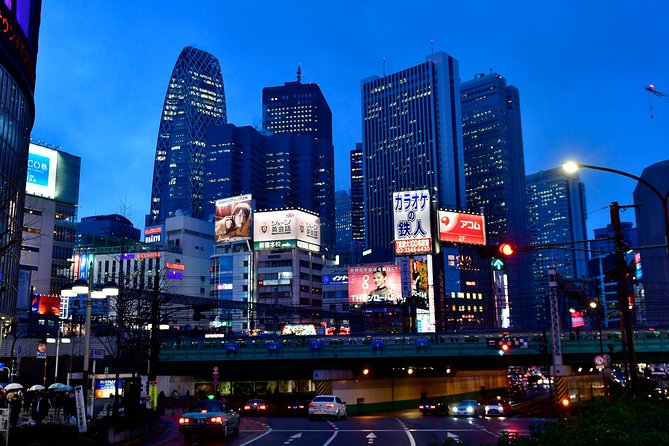
After the crossing, the route can continue into Shibuya’s back streets. The material here is less about one famous view and more about learning to notice small visual relationships. Signs, narrow lanes, shop fronts, pedestrians, and changing light can all become useful subjects.
Your guide may work with you on angles and framing. A flat-looking street scene can change when you lower the camera, wait for a person to enter the frame, or use a line of buildings to pull the eye inward. These are simple ideas, but a working photographer can show you how they affect an actual picture rather than leaving them as abstract rules.
The lesson also includes sharpening your eye for light and subject. You might find that your best image comes from a side street rather than the main crossing. You might also learn that a crowded picture needs one clear point of interest or it becomes visual noise.
This is where the private format earns its keep. If you are new to photography, you can stop to ask what each setting does. If you already know the basics, you can spend more time refining timing, framing, and visual choices.
Harajuku adds color, movement, and human subjects
The street photography route can continue toward Harajuku, known here for its eclectic youth fashion. That gives you a different photographic problem from Shibuya. Instead of working mainly with a large pedestrian flow, you can look for clothing, gesture, color, and individual style.
Photographing people requires judgment. Your guide can help you decide how much of the surroundings to include, where to place a subject, and how to use background shapes without distracting from the person. The goal is not just to collect colorful pictures. It is to understand why one frame feels balanced and another feels cluttered.
The route is not fixed to one set of stops. That flexibility matters. If you are more interested in street scenes than portraits, you can say so. If you want to spend longer trying to perfect a view of Hachiko Crossing, the private structure gives the guide a better chance to adjust the pace.
Keep in mind that the tour lasts about three hours. You will have time for several settings and subjects, but not endless time in every neighborhood. If Harajuku is your priority, say so when arranging the experience rather than hoping the route will naturally linger there.
Exposure settings become useful in real conditions
A good photography lesson should connect camera controls to actual problems. This one covers aperture, shutter speed, ISO, and focusing, then lets you use them in Tokyo’s changing light.
Aperture affects how much of the scene appears sharp and how the subject separates from the background. Shutter speed matters when people are moving, when you want a sharper walking figure, or when you want motion to show in the frame. ISO becomes especially important as evening arrives and the available light drops.
You also work on focus. In a busy city, the camera may choose the wrong subject if you leave every decision to automatic settings. A guide can help you understand when to control focus yourself and how your choice affects the final image.
The value here depends on how actively you take part. You will get more from the lesson if you bring questions, review your images as you go, and explain what you were trying to photograph. A three-hour session can improve your habits, but it cannot replace regular practice.
The session includes reviewing your photography. That is an important part of the experience because the strongest lesson may come after you take the picture. Looking at an image together can show why the subject feels lost, why the light is flat, or why a small change in position would have made the frame stronger.
More hands-on classes and workshops in Tokyo:
- Sushi Making Tokyo Roll and Authentic Japanese Sushi Class
★ 5.0 · 3,971 reviews - Tokyo: Roll and Authentic Sushi Making Class in Asakusa
★ 4.9 · 1,957 reviews - Tokyo Shinjuku Chopsticks Making Class
★ 5.0 · 1,763 reviews - Tokyo: Sushi Making Class in a Happi Coat near a Famous Spot
★ 4.9 · 1,377 reviews
Tokyo after dark: choose Shinjuku or Asakusa
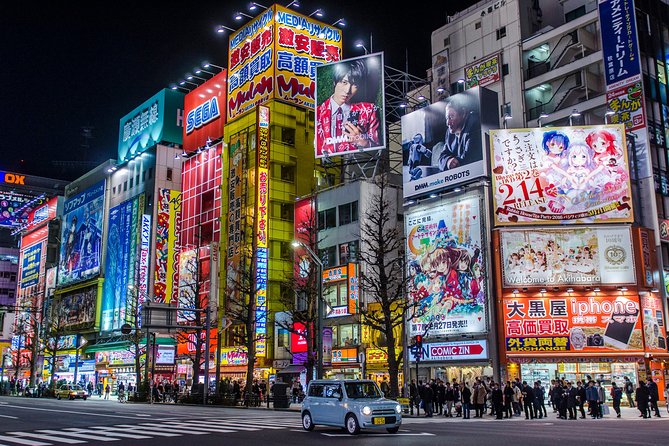
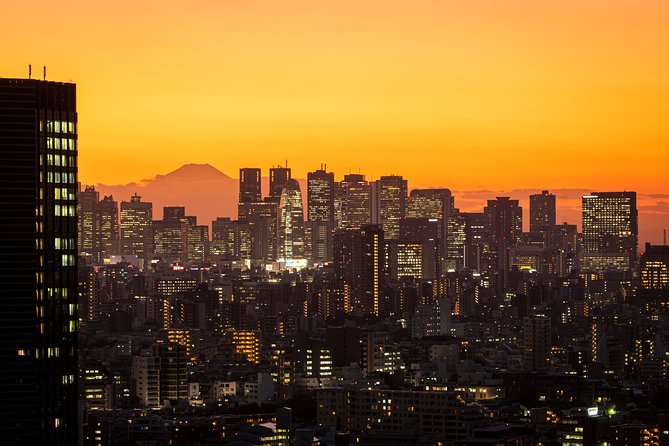
The night option gives you two very different choices. Shinjuku is the more energetic setting, with neon lights, tall buildings, and streets that remain active late into the evening. Asakusa is calmer, centered on Senso-ji and the quieter paths around the temple.
In Shinjuku, the guide can help you work with artificial light and streaking car trails. Long exposures can turn traffic into lines of light, but they also require control of shutter speed, camera stability, and exposure. A tripod may help, and one is available to rent, though it is not included.
Neon signs create another set of problems. Bright signs can fool the camera’s meter, while darker streets can lose detail. You may need to balance highlights and shadows rather than simply point and shoot. This is practical instruction you can use later in any city at night.
Asakusa offers a slower rhythm. Senso-ji after dark can provide strong architectural subjects, while the nearby paths give you quieter compositions. The temple route may suit you if you want to work on symmetry, lines, texture, and low-light detail without the constant movement of central Shinjuku.
Neither option is automatically better. Shinjuku suits photographers who want modern city scenes, neon, traffic, and a futuristic setting. Asakusa suits you if you prefer temple architecture, calmer paths, and more controlled compositions. Tell the guide which mood appeals to you.
Karl’s teaching style and the private advantage
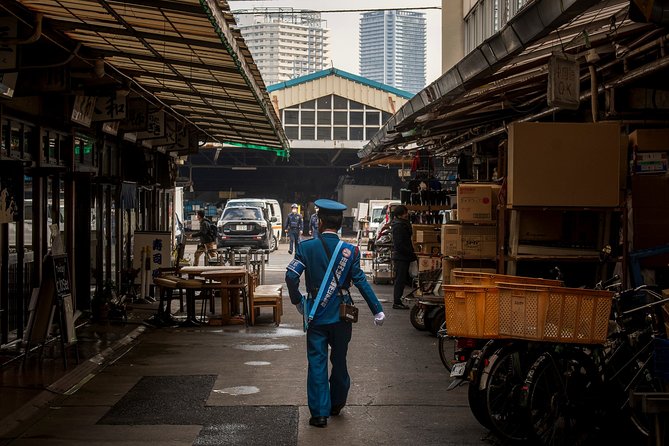
Karl is one of the guides associated with this experience. The available feedback describes him as friendly, experienced, and effective at sharing what he knows. That combination matters more than a guide who simply knows good photo spots.
A strong instructor needs to explain the reason behind a choice. You should come away knowing why a certain shutter speed helped, why one angle worked better, or how a different position changed the light. The reported improvement from one guest was dramatic, but you should treat that as a personal result, not a promise.
The private setup is the clearest strength. You do not have to match the pace of strangers, and you can ask for help with the camera you actually use. A first-time photographer can spend time on basic settings, while a semi-professional can focus on composition, timing, or a particular kind of night image.
There is also a useful human side to the experience. A local guide may point out places you would not normally notice while moving between major sights. The tour remains a photography lesson, but it also gives you a way to see Tokyo through streets and details rather than only through famous landmarks.
What $190 buys you in practical terms
The price is $190 per person for about three hours. That is a serious cost, especially if you are traveling alone or already own photography books and online courses. You are paying for private instruction, a professional photographer guide, a local guide, and a route shaped around your interests.
The value improves if you plan to photograph throughout Japan after the lesson. Learning how to control aperture, shutter speed, ISO, and focus on day one can help you make better images for the rest of the trip. The provider itself advises booking early in your trip for that reason, and I agree with the logic.
The cost also makes more sense for two or more people who can use a group discount, though the exact discount is not specified. If you are traveling with family or friends who all want to learn, ask about the available rate before booking.
You should think twice if you mainly want a guide to take you to one famous view and give you time to shoot. This is instruction, not simply a photo walk with a local escort. You will get the best value if you want feedback and are willing to practice new techniques during the session.
What to bring and how to prepare
Bring your own camera. The price does not include one, and the lesson is built around practicing with your equipment. If you use a phone or another device, confirm before booking that it suits the instruction you want, since the supplied information specifically notes that a camera is not provided.
A tripod is also not included, but one can be rented. You may want one for the night route, especially if you are interested in car trails or low-light work. For the daytime route, it may be less important.
Before you arrive, decide what you most want to improve. You might choose:
- Manual exposure and camera settings
- Street composition
- People and fashion photography
- Night scenes and neon
- Architectural subjects around Senso-ji
- Reviewing and improving existing images
Start thinking about this before meeting at Hachiko Statue. The more clearly you describe your goals, the easier it is for the guide to shape the three hours around them.
The experience is near public transportation, and most people can participate. The meeting point is Hachiko Statue at 2 Chome-1 Dogenzaka, Shibuya, Tokyo 150-0043. The activity returns there at the end, so plan your evening with that in mind.
Who should book this photography lesson
This is a good match for a first-time camera owner who wants clear instruction in a real city rather than a classroom. The Tokyo setting gives you immediate practice with movement, mixed lighting, architecture, and crowded scenes.
It also suits an intermediate photographer who has learned the technical basics but wants stronger compositions. The guide can help you think about repetition, texture, angles, lines, and subject placement instead of relying only on automatic settings.
Semi-professionals may find value in the customized route and image review, particularly if they want to work on street photography or night scenes. The limitation is time. Three hours is enough for focused work, but not enough to cover every Tokyo neighborhood or every camera technique.
You may not need this experience if your main goal is casual sightseeing or if you do not want instruction. The price is easiest to justify when photography is a major part of your Tokyo plans.
Should you book the Tokyo Photography Masterclass?
Book it if you want more than attractive backdrops. The private format, flexible route, and practical work with exposure and composition make this a useful choice for photographers at very different levels. I especially like the option to choose between Shinjuku’s neon and car trails or the quieter temple setting around Asakusa.
Choose a daytime route if street scenes, Shibuya, and Harajuku interest you most. Choose the night route if you want to learn how to handle artificial light, long exposures, and Tokyo after dark. If you can, schedule it early in your trip so you have time to use the lessons elsewhere.
At $190, this is not a bargain sightseeing walk. It is a focused private class in one of the world’s most photogenic cities. For a serious beginner, a couple traveling with cameras, or an experienced photographer who wants local direction, it can be money well spent.
FAQ
How long is the Tokyo Photography Masterclass?
The experience lasts approximately three hours.
Where does the tour start?
It starts at the Hachiko Statue at 2 Chome-1 Dogenzaka, Shibuya, Tokyo 150-0043, Japan.
Where does the tour end?
The activity ends back at the meeting point at the Hachiko Statue.
Is this a private photography tour?
Yes. Only your group participates in the private tour or activity.
Is the lesson suitable for beginners?
Yes. It is designed for all levels, including people using a camera for the first time and semi-professional photographers.
What photography skills are covered?
The lesson covers composition, lines, repetition, texture, angles, lighting, aperture, shutter speed, ISO, focusing, and reviewing your photography.
Is a camera included?
No. You need to bring your own camera.
Can I use a tripod?
A tripod is not included, but one is available to rent.
What is the cancellation policy?
You can cancel up to 24 hours before the experience start time for a full refund. Cancellations or changes made less than 24 hours before the start time are not accepted for a refund.
Newly reviewed around Tokyo
- Tokyo Asakusa:Calligraphy & Make T-shirt Activity★ 5.0 · 62 reviews
- Intercity Shuttle, Tokyo to Haneda /Narita /Yokohama /Makuhari★ 5.0 · 5 reviews
- 1 Hour Travel around Tokyo with a Professional Photographer★ 5.0 · 3 reviews
- Travel Tokyo with Your Own Personal Photographer★ 5.0 · 43 reviews
- Train in Samurai Swordsmanship and Defeat the Demon in Tokyo★ 5.0 · 5 reviews
- Shuttle Van 6hr Tokyo Tour to-and-from Tokyo, Yokohama and Narita★ 5.0 · 9 reviews
- Kickboxing & Body Training with EX-Pro Fighter★ 5.0 · 4 reviews
- Traditional Japanese Knife Sharpening Class★ 5.0 · 18 reviews
Photography Sessions, compared.
Best Go Kart Experience in Shibuya Crossing with Iconic Photos
Read our review →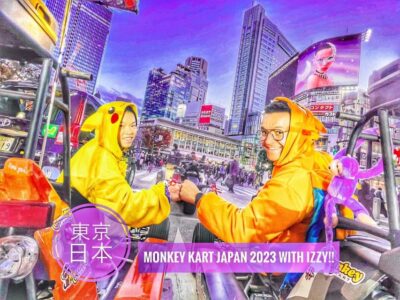
Tokyo Go-Karting Experience: Shibuya Crossing with Photos
Read our review →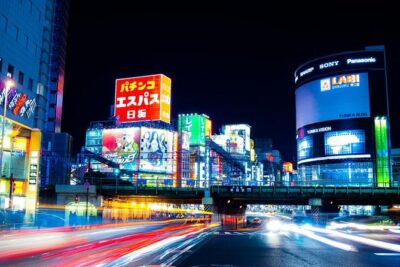
Tokyo by Night Photography Tour (Private Option Available)
Read our review →
Tour with Pro Tokyo Photographer and take Edgy Unique Portraits
Read our review →
Tokyo Portrait Tour with a Professional Photographer
Read our review →
Browse the lists this tour appears in